• Inspecting the Exposure

    The length of your exposure to the sun depends on the time of year and the strength of the sun that day.

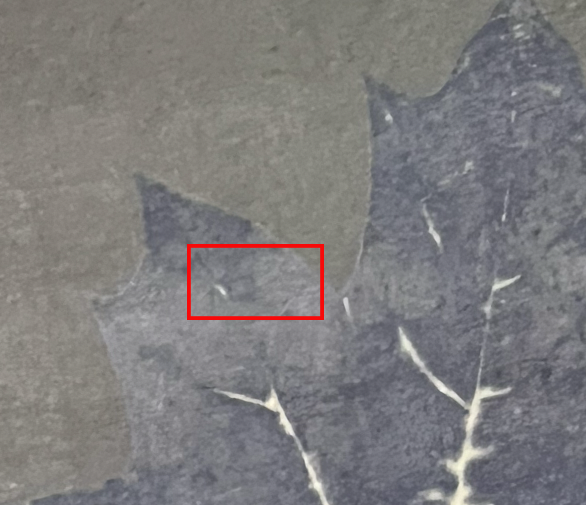
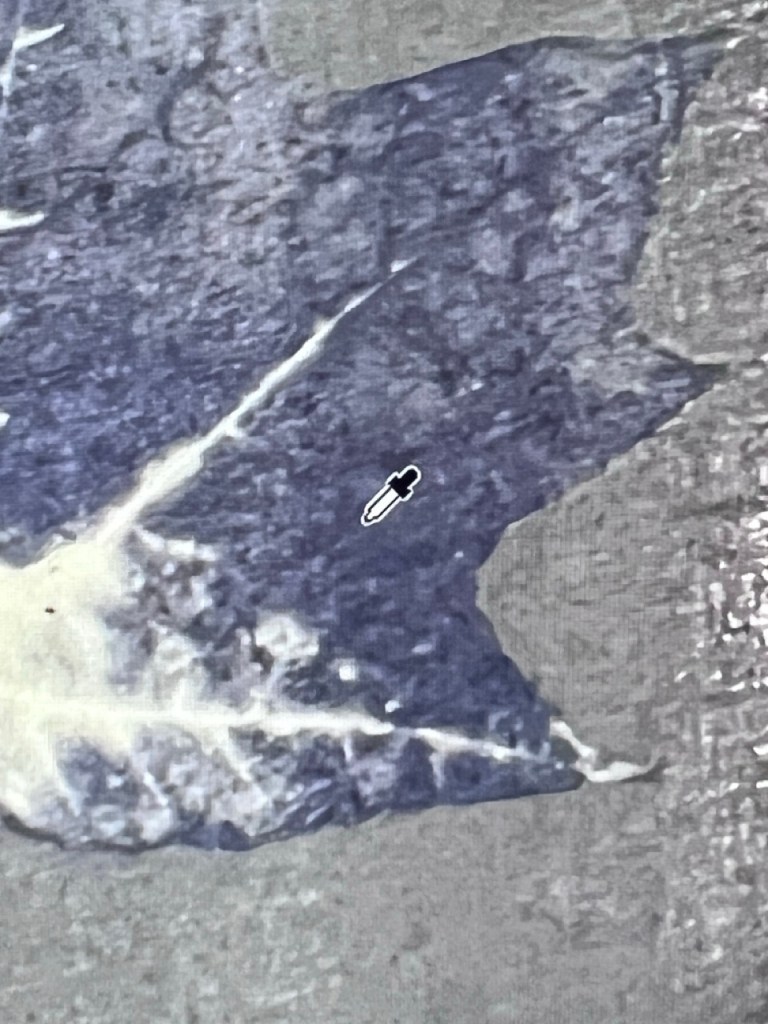
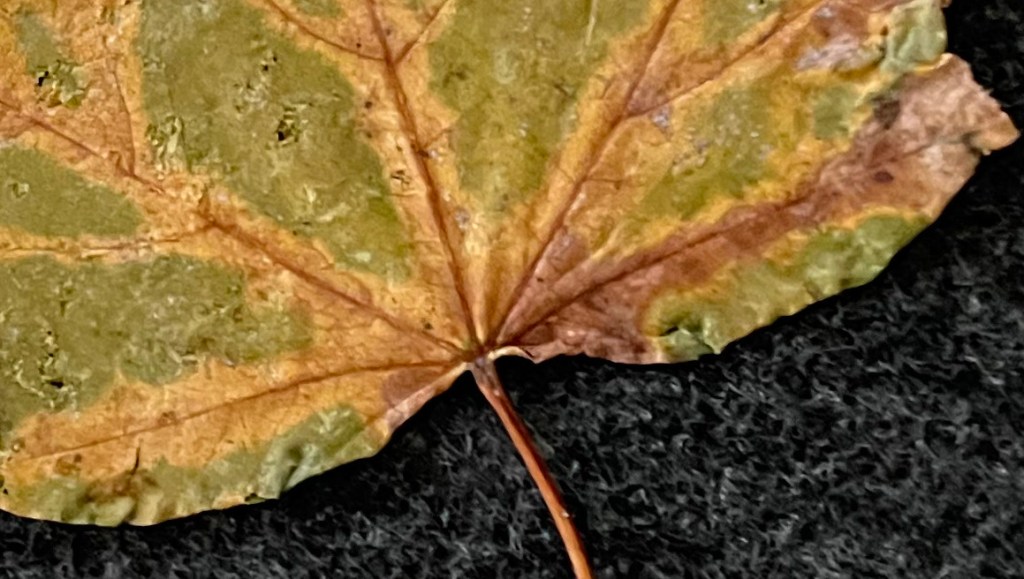
    You know you’re getting close when your paper starts to turn a dull olive brown/dark metal grey color:

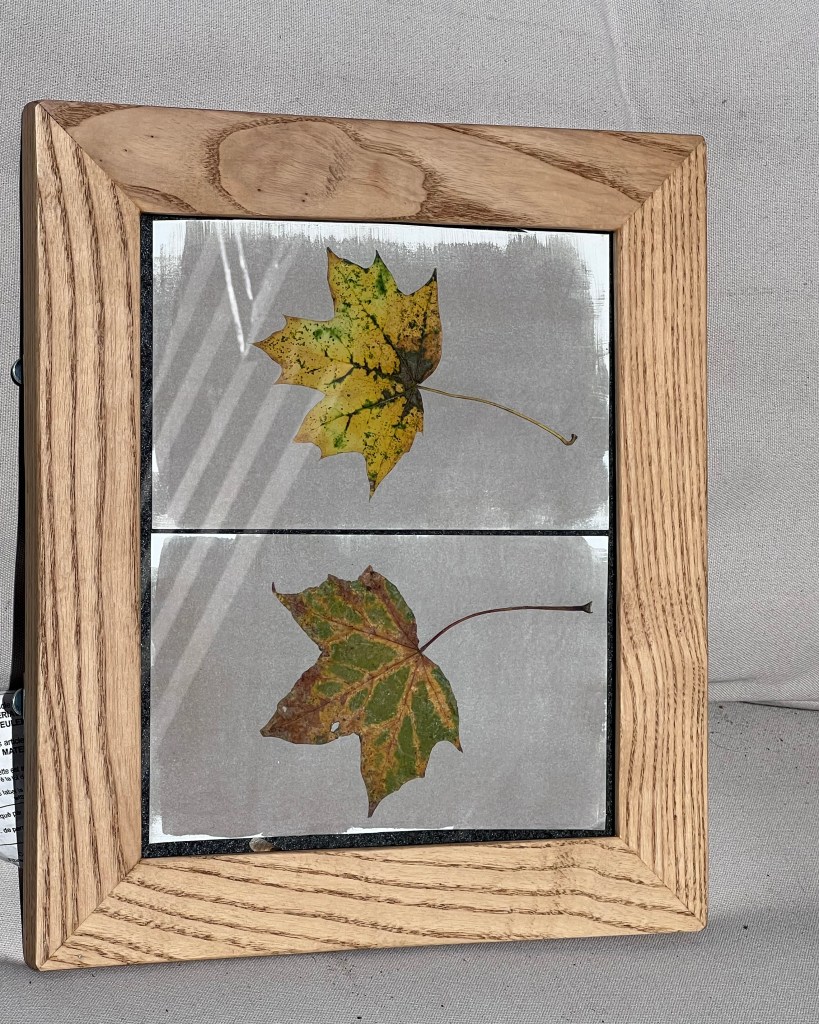
    Here is what the print looked like before putting into the rinse:

    This was after ~75 minutes in the sun.

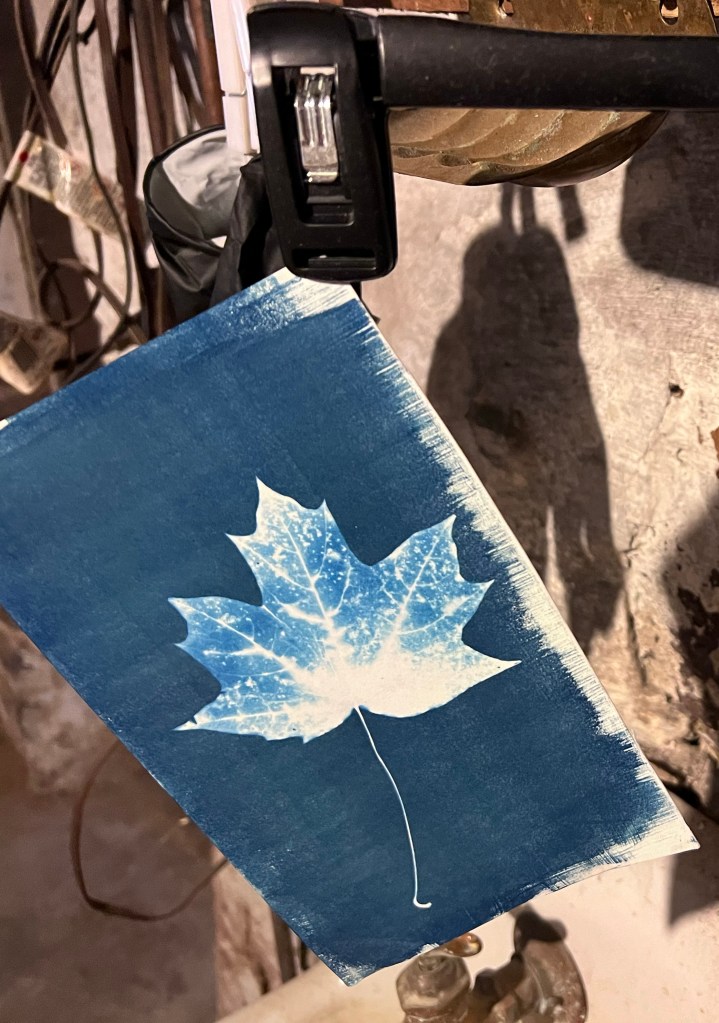
    Here’s how it turned out:

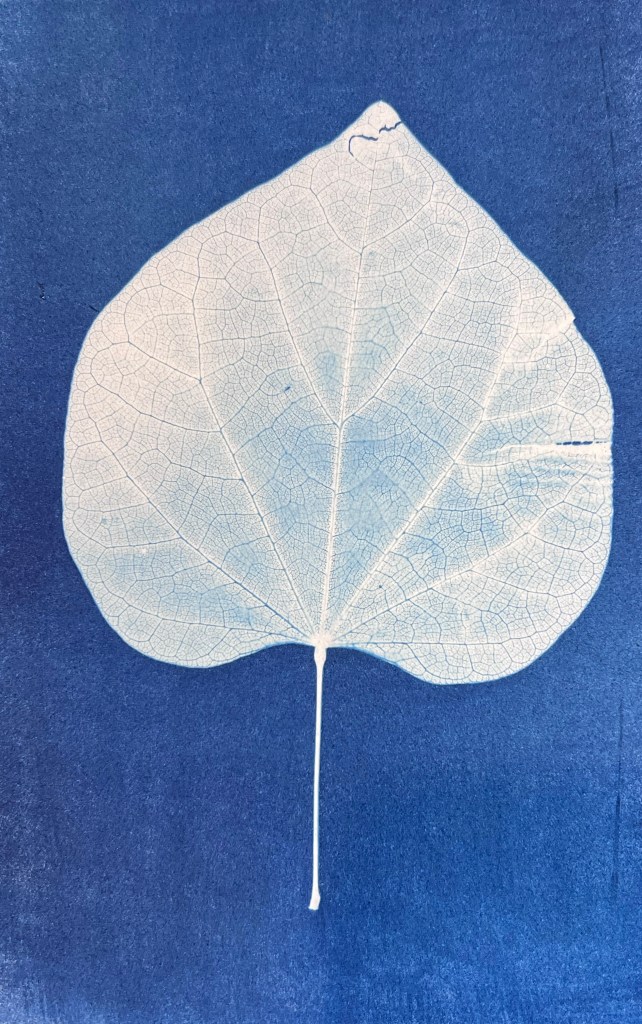
    Any traces of yellow in the pre-rinse print will turn white. Note how much of the leaf detail washes out, even in a very gentle cold water rinse with minimal agitation and a cap of vinegar. If you want to get details of the leaf and not just a silhouette, your pre-rinse image needs to look overexposed.

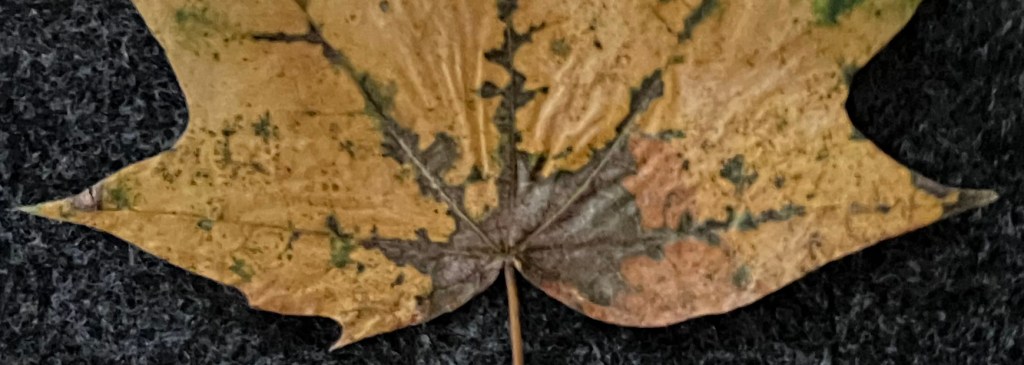
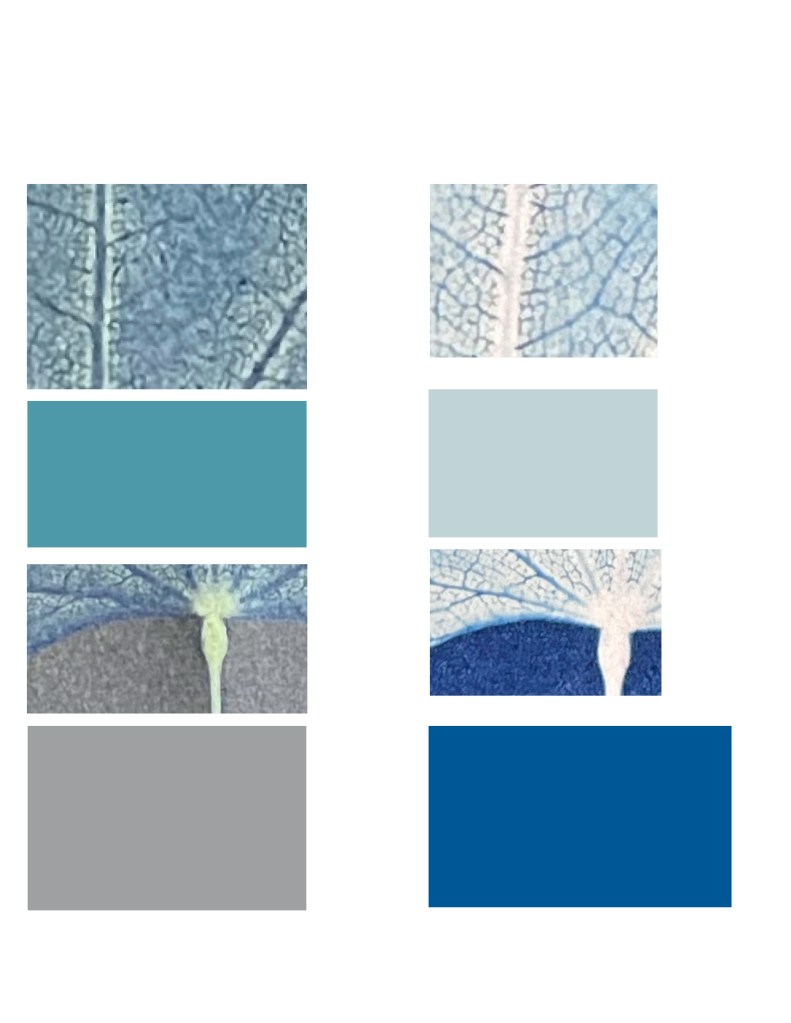
    Here’s a closeup of some before (left side) and after (right side) portions to show the color shifts:

    When in doubt, expose it longer than you think!

  • How to Make a Cyanotype Leaf Print Using the Sun

    How to make a contact print of a leaf:

    1. We take the coated paper and put a leaf on top of it.
    2. We then put that coated paper into a contact printing frame.
      • Caution: Make sure the coated side of the paper faces the glass.
    3. Bring the contact print outside to a sunny place.
      • Caution: Make sure it will remain sunny for the entire exposure time.
    4. Exposure times will vary depending on the time of year, how close to the equator you are, etc. I exposed these prints in October (Fall, Northern Hemisphere) for 50 minutes. Lattitude around 40° N.

      Here is what it should look like:

      5. Inspect the exposure. Flip the contact frame over and carefully open up the back of the contact print frame. Keep pressure on it. Gently peel up a corner of your paper and take a peek. This should keep the leaf in place. We want to start seeing detail and gradation in our exposed image.

      Here is what the exposed paper looks like after 50 minutes in direct sunlight:

      • Note: the background in the image above is a dark metal/gray color. The eyedropper readings of this image show R:113, G:113, B:105. This will turn into a deep rich dark blue once we wash the print.
      • Note: We can see different details and gradation in our exposed print. It is starting to already look like an image. That’s good.
      • Note: the eyedropper readings of this portion of the image (above) show R:137, G:137, B:139.
      • Note: the eyedropper readings of this portion of the image (below) show R:88, G:90, B:103

      6. Rinse the print for 10 minutes. Run cold water, put print in quickly and agitate.

      7. After 10 minutes, turn off tap. Add a few squirts of hydrogen peroxide to the tray and agitate for 60 seconds. This speeds up the oxidation process and helps you see your finished print values more quickly.

      8. Hang print to dry.

      Printing Notes and final thoughts:

      • Printed on HAHNEMUHLE Platinum Rag paper.
      • Decent amount of detail in most of leaf. Bottom portion still a bit underexposed.
      • Zoom in of front/back of original leaf. Appears the darker yellow, darker brown/black portions of the leaf have much stronger UV blocking capability.
      • We see some detail in this portion of the exposed print (pre rinse). But final print a bit too washed out in this bottom portion.
      • Next time, consider a longer exposure time to get more detail.
    1. Pre-Treat the Paper

      -Fill a garment steamer with distilled water. Turn on and wait for it to boil

      -Once steam comes out, hold paper close and dip front side and back side a few times.